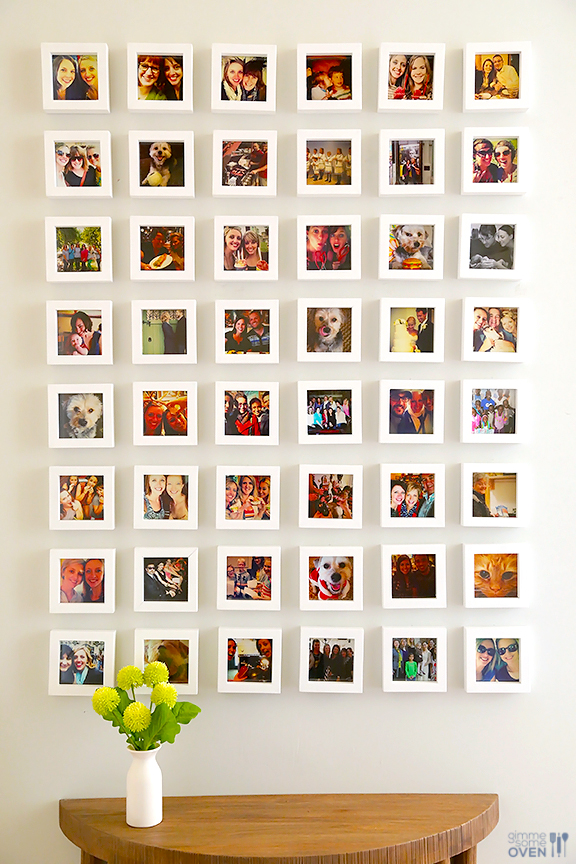
How to Create an Amazing Instagram Picture Wall
I love the idea by Give Me Some Oven for a DIY Instagram Picture Wall using your favorite photos from Instagram! I can’t wait to create this for my new house (I should have more information shortly to share).
First thing to do is order the frames. Tiny Mighty Frames has all sorts of different options for buying Instagram-sized square frames. They come in black or white, matted or non-matted, 4×4 or 6×6, singles, 3-packs, 9-packs, 16-packs or 20-packs. With all of these options, you can choose your own size and color.
While your waiting for your frames to arrive, go ahead and order your pictures. Walgreens has an app called Quick Prints that you can print the pictures from your phone. Be sure to also check their website beforehand for coupon codes. There’s almost always some sort of discount you can get with photos.
Once your frames arrive, you need to make a plan on how to hang them.
1) Measure the your overall wall space.
2) Decide how many frames you want to use, and how you want to arrange them.
3) Decide exactly how much space you want between frames (both vertically and horizontally).
4) Decide how much or a border you want to have on the wall around the frames.
5) Work backwards measuring from there.
6) Make pencil marks on the wall for where your nails should go, using a level to double-check that they are level.
Knowing that math is not one of my strongest skills, I’ll be getting some help– most likely from my Mom.
Once you have made your marks for the nails, hammer a small nail into each pencil mark and hang your frames so that they are flush against the wall.
Finally it is time to hang your pictures. Your frames may hang perfectly straight but if they don’t use Command strips to hide behind the frame.
I would love to see your Instagram Picture Wall! Please feel free to post in the comments! Have fun!


